Inventory from an iiko sheet
How to fill in an iiko inventory sheet, check the quantities in ReconDoc, and send the inventory to iiko.
Where it is: Inventory →
about 3 minUpdated October 4, 2026
You enter the counted quantities only once — in the sheet exported from iiko. ReconDoc reads the file, shows what needs checking, and creates the inventory document in iiko.
1. Export the sheet from iiko#
In iikoOffice, export the printable inventory sheet for the store and date you need as an Excel file (.xlsx). Ungrouped sheets and sheets grouped by product group or category are supported. Keep the original Russian column headings.
The file can contain several worksheets. Their store and date must match; otherwise ReconDoc will ask you to export the sheet again.
2. Enter the quantities you counted#
Enter each quantity in the actual stock column, using the product's unit in iiko. For example, if the unit is kilograms, enter 2.5 for 2 kg 500 g.
Enter 0 if there is none of the product left. An empty cell means the product has not been counted, and that line is not sent to iiko.
You can use the marks column for an additional quantity, such as another 2 kg found on a different shelf. During upload, you choose whether to add these numbers to the main count or ignore them. Text notes are not added.
You can add missing products at the bottom of the worksheet — ReconDoc will try to find each one by name. Keep the codes and names of the printed products unchanged.
Careful
If Numbers or another spreadsheet editor turns a number into a date, ReconDoc shows "Invalid value". Correct the quantity before sending.
3. Upload the sheet to ReconDoc#
- Open "Inventories" in the menu and click "Upload iiko blank".
- Select the file. Check "Store" and "Date", and fill them in if needed.
- If "Marks" appears, choose "Add to the count" or "Ignore".
- Click "Create inventory". For now, the document is saved only in ReconDoc.
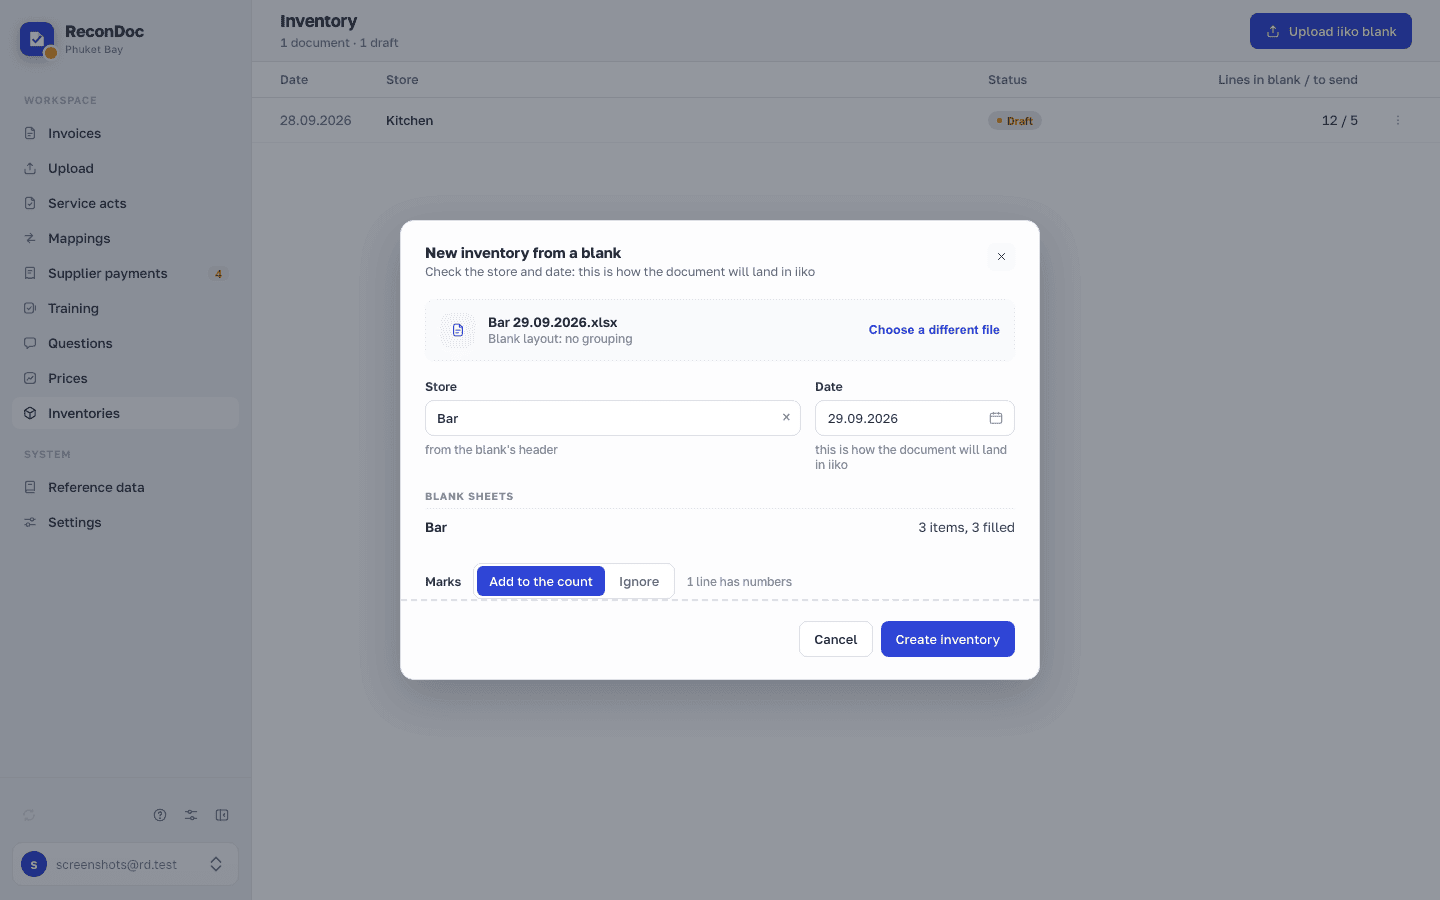
If this file has already been uploaded, you will see "Open the inventory" — it opens the existing document instead of creating a second one.
4. Check and send#
On the "Lines" tab, check the products and quantities and resolve the lines that need a decision. Then open the "Reconciliation" tab: ReconDoc compares your count with the stock quantities recorded in iiko. What each line warning means and how to resolve it is explained in the Inventory screen guide.
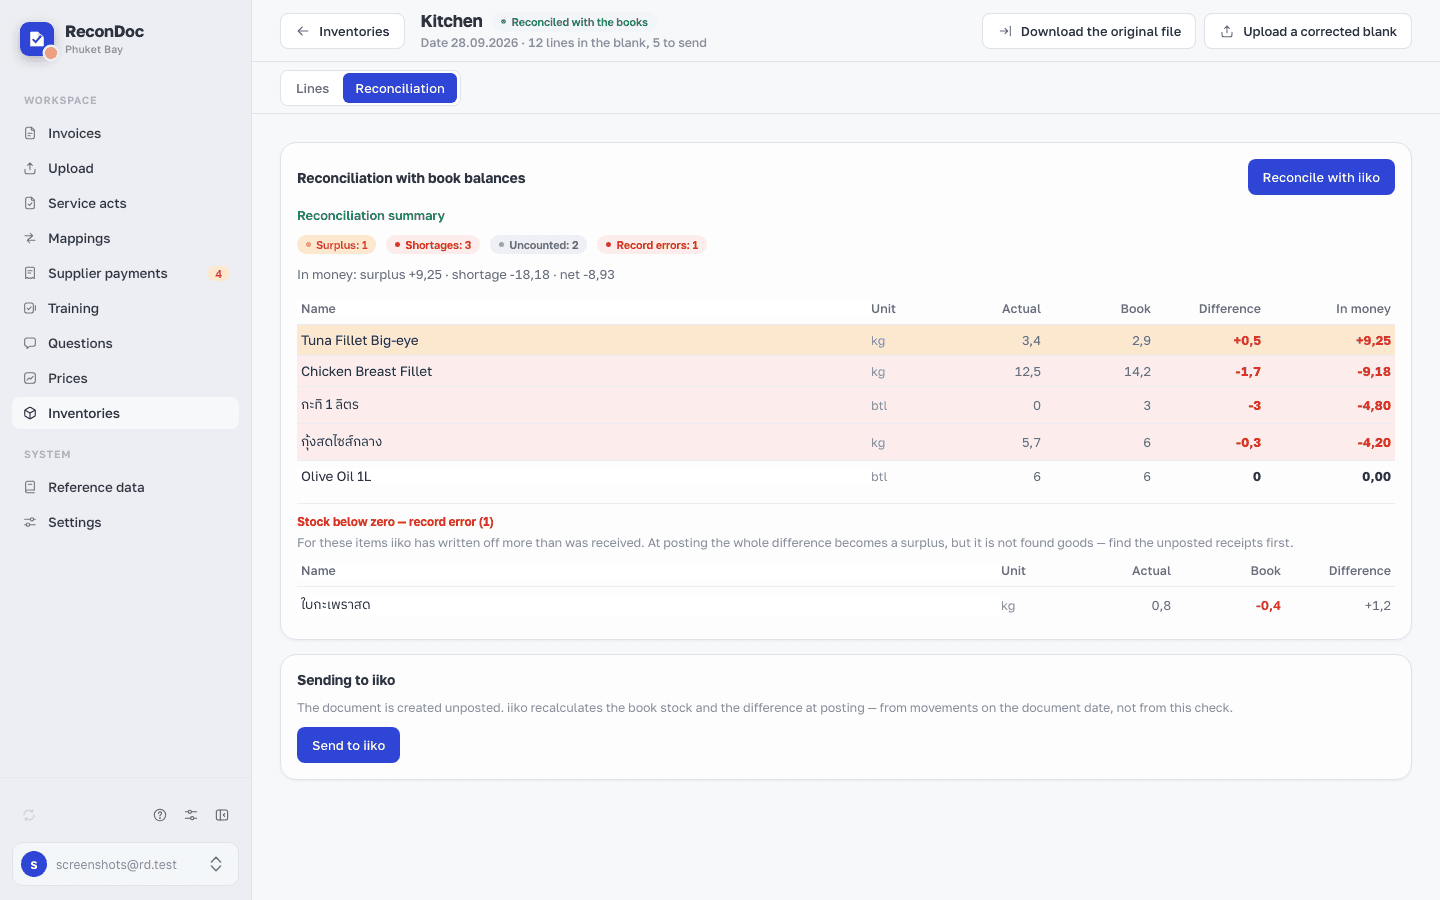
Only the restaurant owner can send the document. Click "Send to iiko", check the store, date, and number of items in the confirmation window, then click "Send".
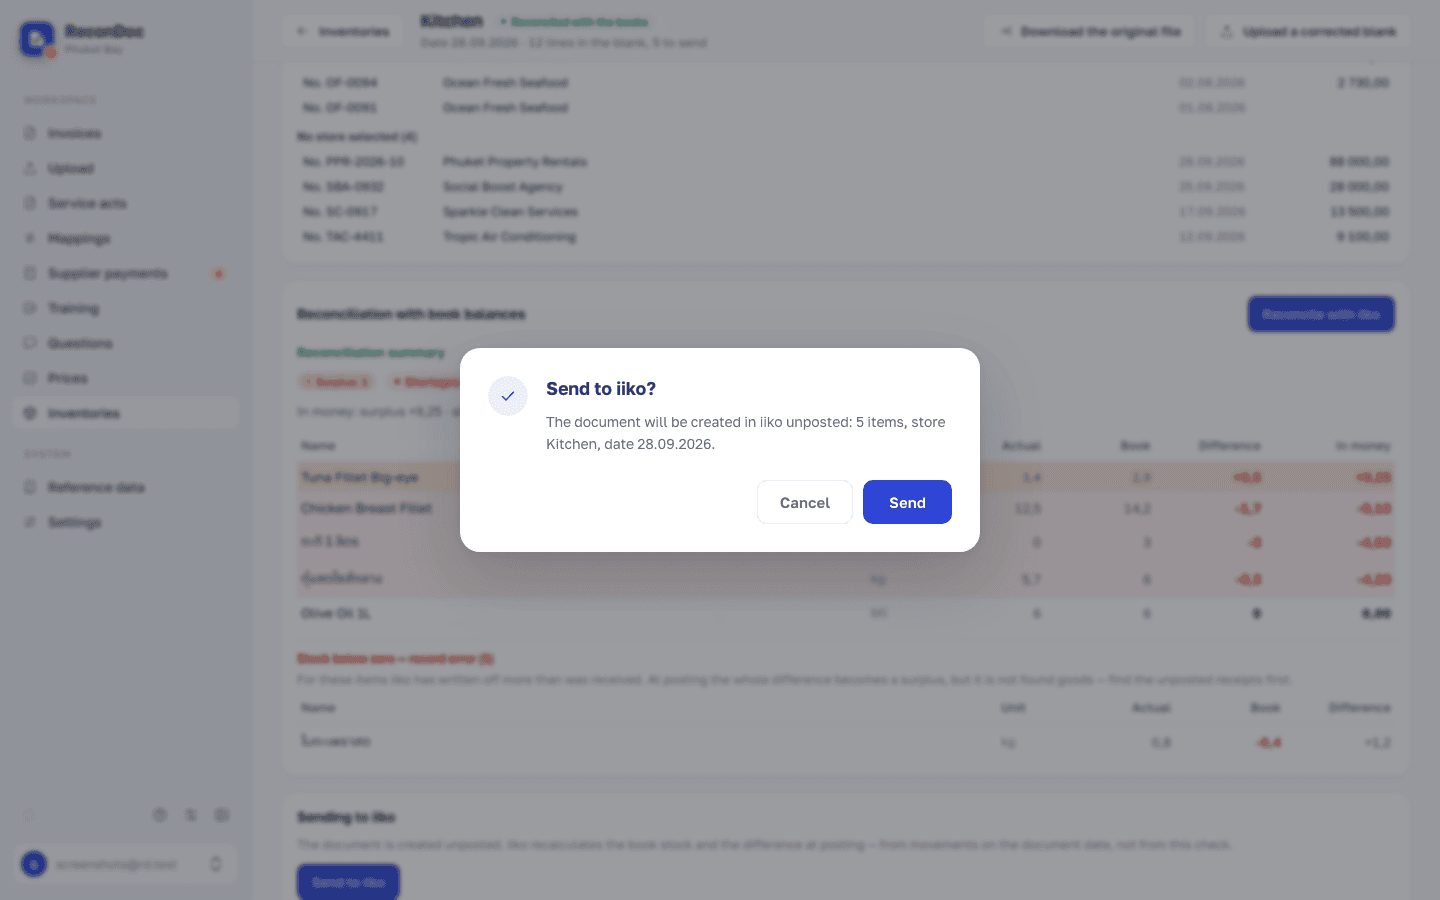
Careful
The document is created unposted: stock balances in iiko do not change yet. Post the inventory in iiko — the difference is explained in Posted or unposted: which to pick.
If you find a mistake in the file before sending, correct it, open the document, and click "Upload a corrected blank". Check the lines again after the replacement: quantities are taken from the new file.
What's next
Didn't find the answer, or the guide didn't help?
Ask support