Settings: the iiko connection
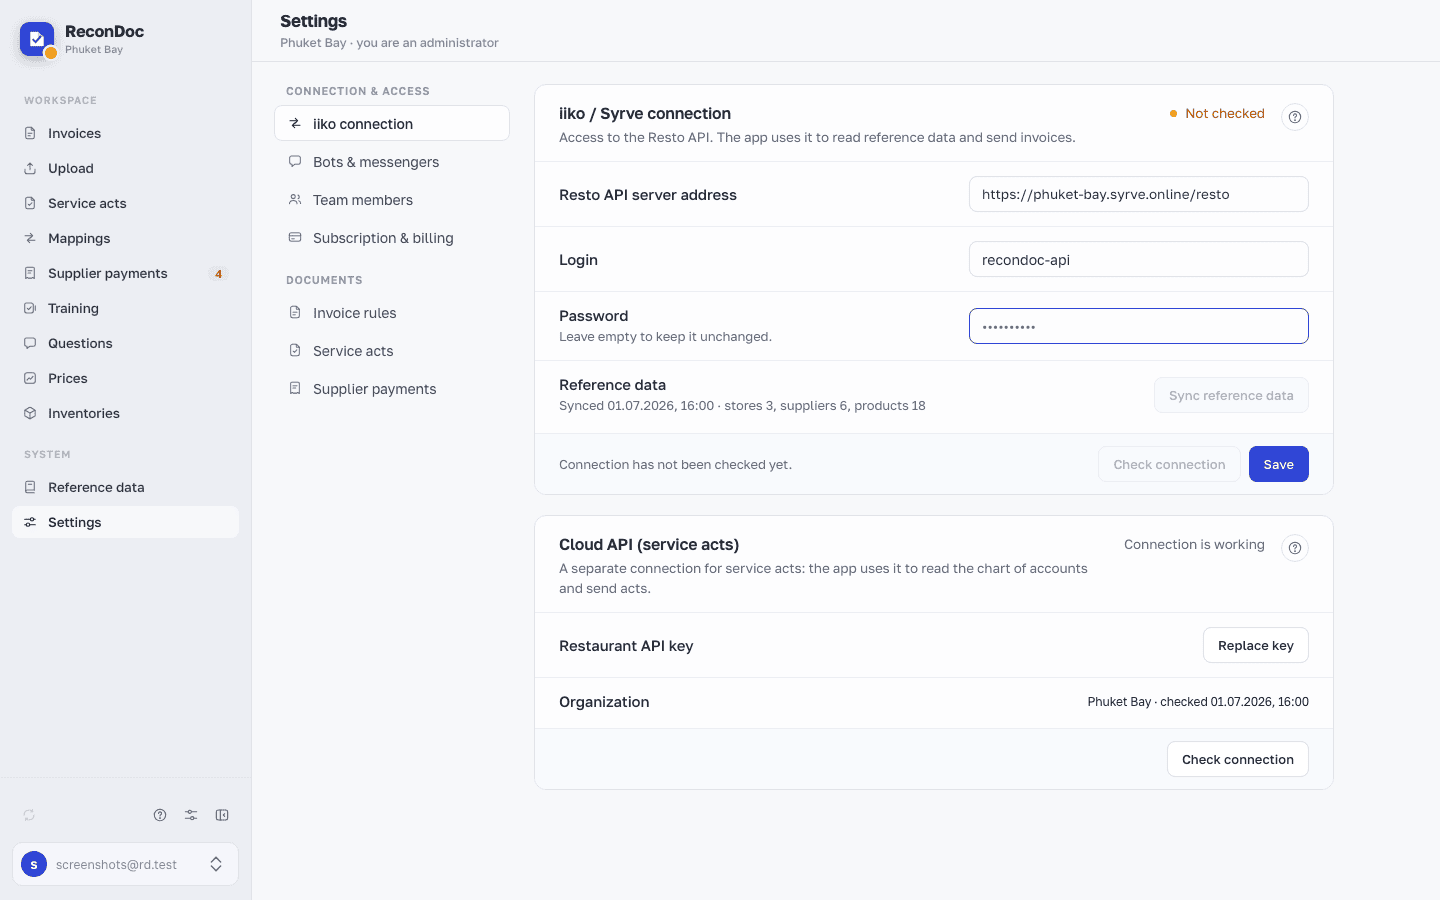
The iiko connection screen: the server address, login and password, the connection check, reference data, the separate Cloud API key for service acts.
about 3 minUpdated October 17, 2026
The iiko connection screen opens from the side menu (Settings, the Connection & access group) and holds everything needed to reach your server: the address, the Resto API login and password, and a separate Cloud API key for service acts. The tax ID and the recognition model, which used to sit here under Technical recognition settings, have moved to the Invoice rules screen.
The screen#
 12345
- iiko / Syrve connection — the whole card: these are the credentials the app uses to read the iiko reference data and to send invoices.
- Resto API server address — the address of your iiko / Syrve server, with
/restoat the end; where to get it is in Connecting iiko or Syrve. - Check connection — the service tries to sign in with the login given and signs straight back out; while the form has unsaved changes the button is unavailable — the check runs against the data already saved.
- Save (Connect until iiko is connected) — writes down the address, the login and the password; after saving, the password is kept encrypted and is no longer shown in the field. The button is blue only when there is something to save.
- Cloud API (service acts) — a separate card: the key the app uses to read the chart of accounts and to send service acts. It has nothing to do with invoices and is visible only when the Service acts section is turned on for the restaurant; how to get the key is in Cloud API for service acts.
Connecting to iiko#
The Resto API server address, login and password are needed to read the iiko reference data and to send invoices. After saving, the password is kept encrypted. Save first, then press Check connection: the check runs against the data already saved. The card's status (for example Connection is working or Error) sits in its header, and the date of the last check in its footer.
The Reference data row shows when the reference data was last synced and how many stores, suppliers and products it holds; the Sync reference data button starts the exchange by hand. The sync runs in the background, so you can leave the page.
Done. Where next?#
If the credentials are saved but the connection hasn't been checked yet, or has since dropped — what the connection statuses mean and how to tell what broke is in iiko won't connect.
What you do here
What's next
Didn't find the answer, or the guide didn't help?
Ask support